Difference between revisions of "Enderal:Clearwater Cave"
(Description summary, corrections) |
|||
| Line 10: | Line 10: | ||
==Description== | ==Description== | ||
| − | If | + | If you enter through the first door, you will find yourself in a long corridor leading downwards. If you turn right, there is a bear trap and a Lost One in the distance. Continue through and arrive in a big atrium-like space with bridges and water at the bottom. A lever before you activates a boulder trap, especially useful if an enemy is near the bridge in front of you. Belosh the Searcher, a mini-boss, can be encountered on the right, overseeing the room. In front of him is a table with ambrosia and some coins. If some Lost Ones across the balcony notice you, hit the oil cans above them. The ramp to the right leads to two beds and some loot. |
Another possibility after entering the big room is going left. The small corridors hide a dead end with a boulder trap, corundum vein and a chest. | Another possibility after entering the big room is going left. The small corridors hide a dead end with a boulder trap, corundum vein and a chest. | ||
| − | At the bottom of the atrium, there | + | At the bottom of the atrium, there is a quicksilver vein. The water does not seem to hide anything of value. Moving on, another long hallway opens in front of you, two Lost Ones guard the way. A spike-ball trap is also installed. At the end, there is a door behind which there are more enemies and a crossroad - going right leads you to the Tarhutie's Elixir, objective of [[Enderal:Bad Vibrations|Bad Vibrations]]. You will also find a table with [[Enderal:Cold_Glance_of_the_Ratcatchers|Cold Glance]] and a spell tome in the water. |
| − | Taking left | + | Taking left exposes a few rats, a quicksilver vein in a dead end and another path leading to yet another atrium. This one is smaller but a nice waterfall runs through the middle. The bottom of the room features a chest and a scroll, going up leads to a second chest, a bridge that ends with a dark, narrow corridor in which you can find [[Enderal:Footprints_of_the_Well-traveled_One|Footprints of the Well Travelled-One]]. This corridor leads to the second entrance (in this case it's an exit). |
==Location== | ==Location== | ||
Sun Coast | Sun Coast | ||
Revision as of 04:16, 25 March 2017
Clearwater Cave is a quest-related medium cave east of Riverville containing undead. It is made of only one zone: Clearwater Cave.
Description
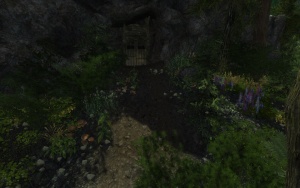
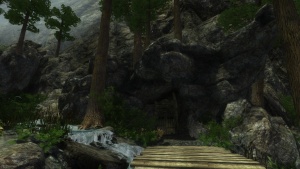
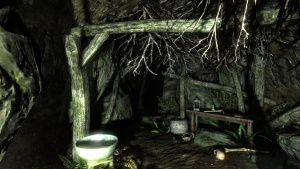
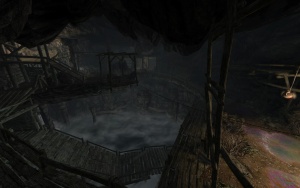
If you enter through the first door, you will find yourself in a long corridor leading downwards. If you turn right, there is a bear trap and a Lost One in the distance. Continue through and arrive in a big atrium-like space with bridges and water at the bottom. A lever before you activates a boulder trap, especially useful if an enemy is near the bridge in front of you. Belosh the Searcher, a mini-boss, can be encountered on the right, overseeing the room. In front of him is a table with ambrosia and some coins. If some Lost Ones across the balcony notice you, hit the oil cans above them. The ramp to the right leads to two beds and some loot.
Another possibility after entering the big room is going left. The small corridors hide a dead end with a boulder trap, corundum vein and a chest.
At the bottom of the atrium, there is a quicksilver vein. The water does not seem to hide anything of value. Moving on, another long hallway opens in front of you, two Lost Ones guard the way. A spike-ball trap is also installed. At the end, there is a door behind which there are more enemies and a crossroad - going right leads you to the Tarhutie's Elixir, objective of Bad Vibrations. You will also find a table with Cold Glance and a spell tome in the water.
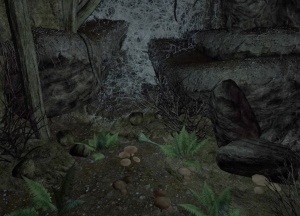
Taking left exposes a few rats, a quicksilver vein in a dead end and another path leading to yet another atrium. This one is smaller but a nice waterfall runs through the middle. The bottom of the room features a chest and a scroll, going up leads to a second chest, a bridge that ends with a dark, narrow corridor in which you can find Footprints of the Well Travelled-One. This corridor leads to the second entrance (in this case it's an exit).
Location
Sun Coast
Occupants
- Pit Rat
- Fleshless Lost One
- Belosh the Searcher
- Aura Thief
Items Found
- Footprints of the Well Travelled-One (Set Item)
- Tarhutie's Elixir (Quest Item)
- Spell Tome (Summon Battle Axe) (Floating on water)
- Quicksilver Ore
- Nimbus of the Mysterious Nomad (Set Item) (on Belosh)
- Cold Glance of the Ratcatchers (Set Item)
- Scroll of Ondusi's Key (Adept)
Levels/Rooms
1 Level.
